Create and Push Docker Images
镜像创建、镜像push
是什么
Dockerfile是用于BuilddockerImage的File
Dockerfile里包括了BuildImage所需的“指令”
Dockerfile有其特定的Syntax规则
基本结构
例如:在一台ubuntu 21.04上Run下面这个hello.py的Python程序
不用daocker步骤:
1、编写hello.pyFile。
print("hello docker")2、准备Python环境
apt-get update && \
DEBIAN_FRONTEND=noninteractive apt-get install --no-install-recommends -y python3.9 python3-pip python3.9-dev
3、Runhello.py
$ python3 hello.py
hello docker
UsageDockerfileBuildImage后就这样
FROM ubuntu:20.04
RUN apt-get update && \
    DEBIAN_FRONTEND=noninteractive apt-get install --no-install-recommends -y python3.9 python3-pip python3.9-dev
ADD hello.py /
CMD ["python3", "/hello.py"]
说明:
FROM:导入一个BasicImage
RUN:要Run的linxCommand
ADD:添加File到dockerImage的指定Directory
CMD:Usage该ImageCreateContainer的时候,要Execute的Command。
构建镜像
将写好的hello.pyFile和DockerfileFile放在一起进入该Directory。
BuildImage
docker image build -t 容器名称:版本 构建镜像存放路径例如:
docker image build -t hello .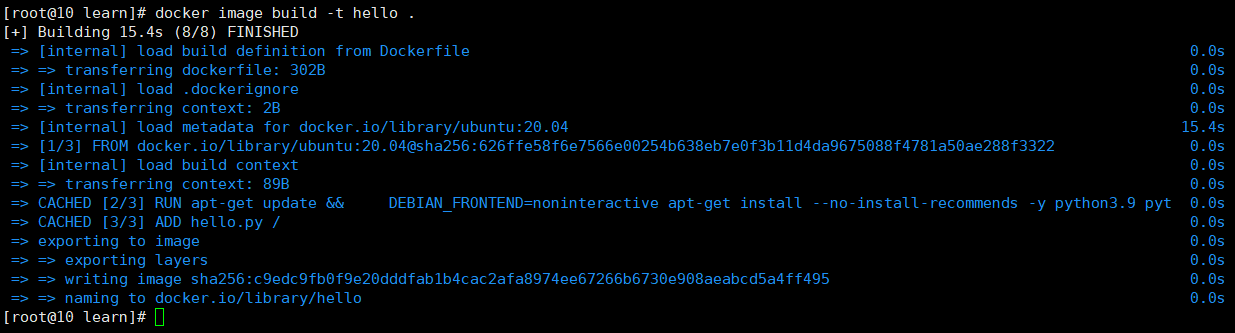
注意:如果不写Version号默认是latest。t:表示标签
例如,Build上面的pyImage:
docker image build -t i2cn/hello:1.0 .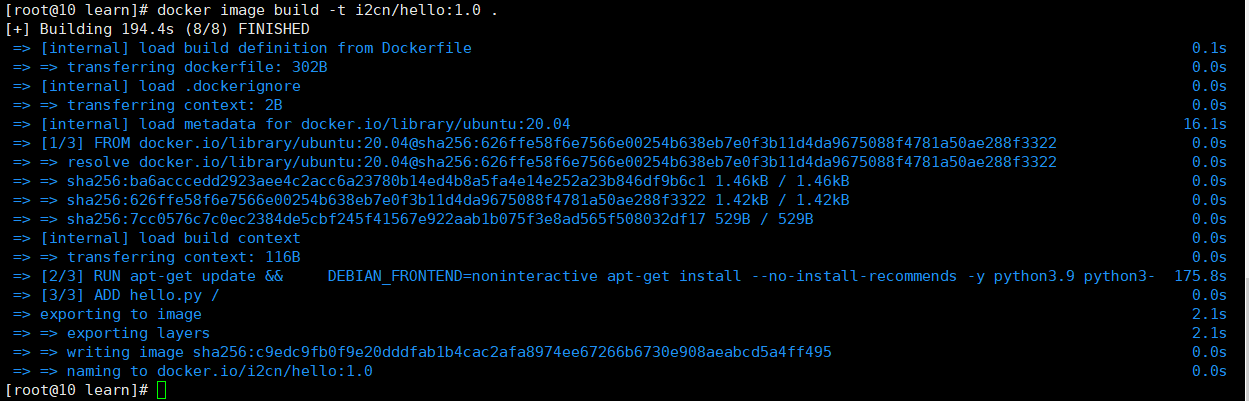
BuildImage名称是hell,Version默认是latest,存放位置当前File夹下。

注意:因为是根据一个imageCreate的,image的id是相同。
镜像提交到DockerHub
需要符合DockerHub命名规范。
根据现有image修改tag生成一个新image tag:
docker image tag 容器名称 新容器名称/名称:版本docker image tag i2cn/hello:1.0 i2cn/hello:1.1.0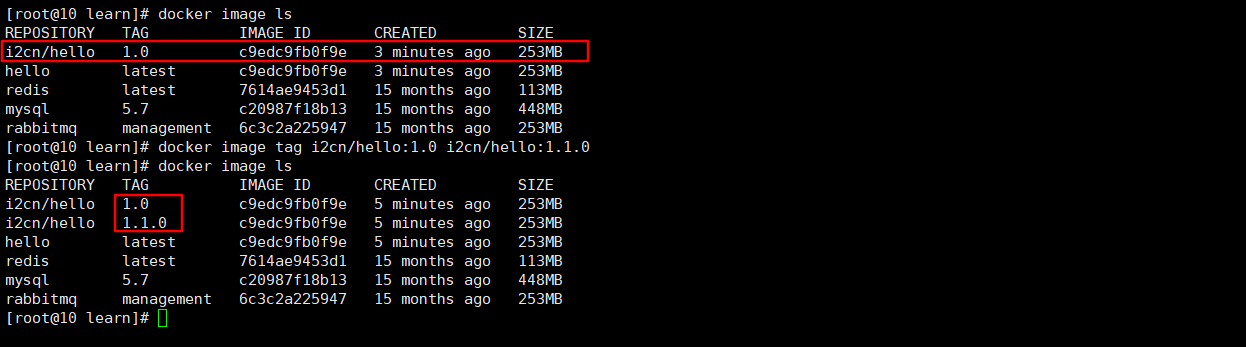
登录DockerHhub:
docker login会提示输入用户名密码。
Push自定义Image到DockerHub
docker image push 镜像名称:tag注意:如果是要Push到自己的DockerHub一定要取一个自己账号开头的Image名称。
例如Push上面自己Build的Image:
docker image push i2cn/hello:1.0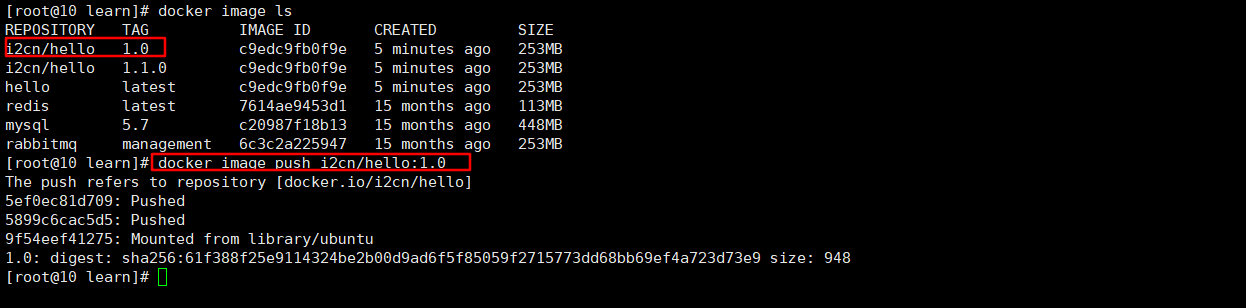
打开Docker hub自己仓Library,就可以看到push的Image了。
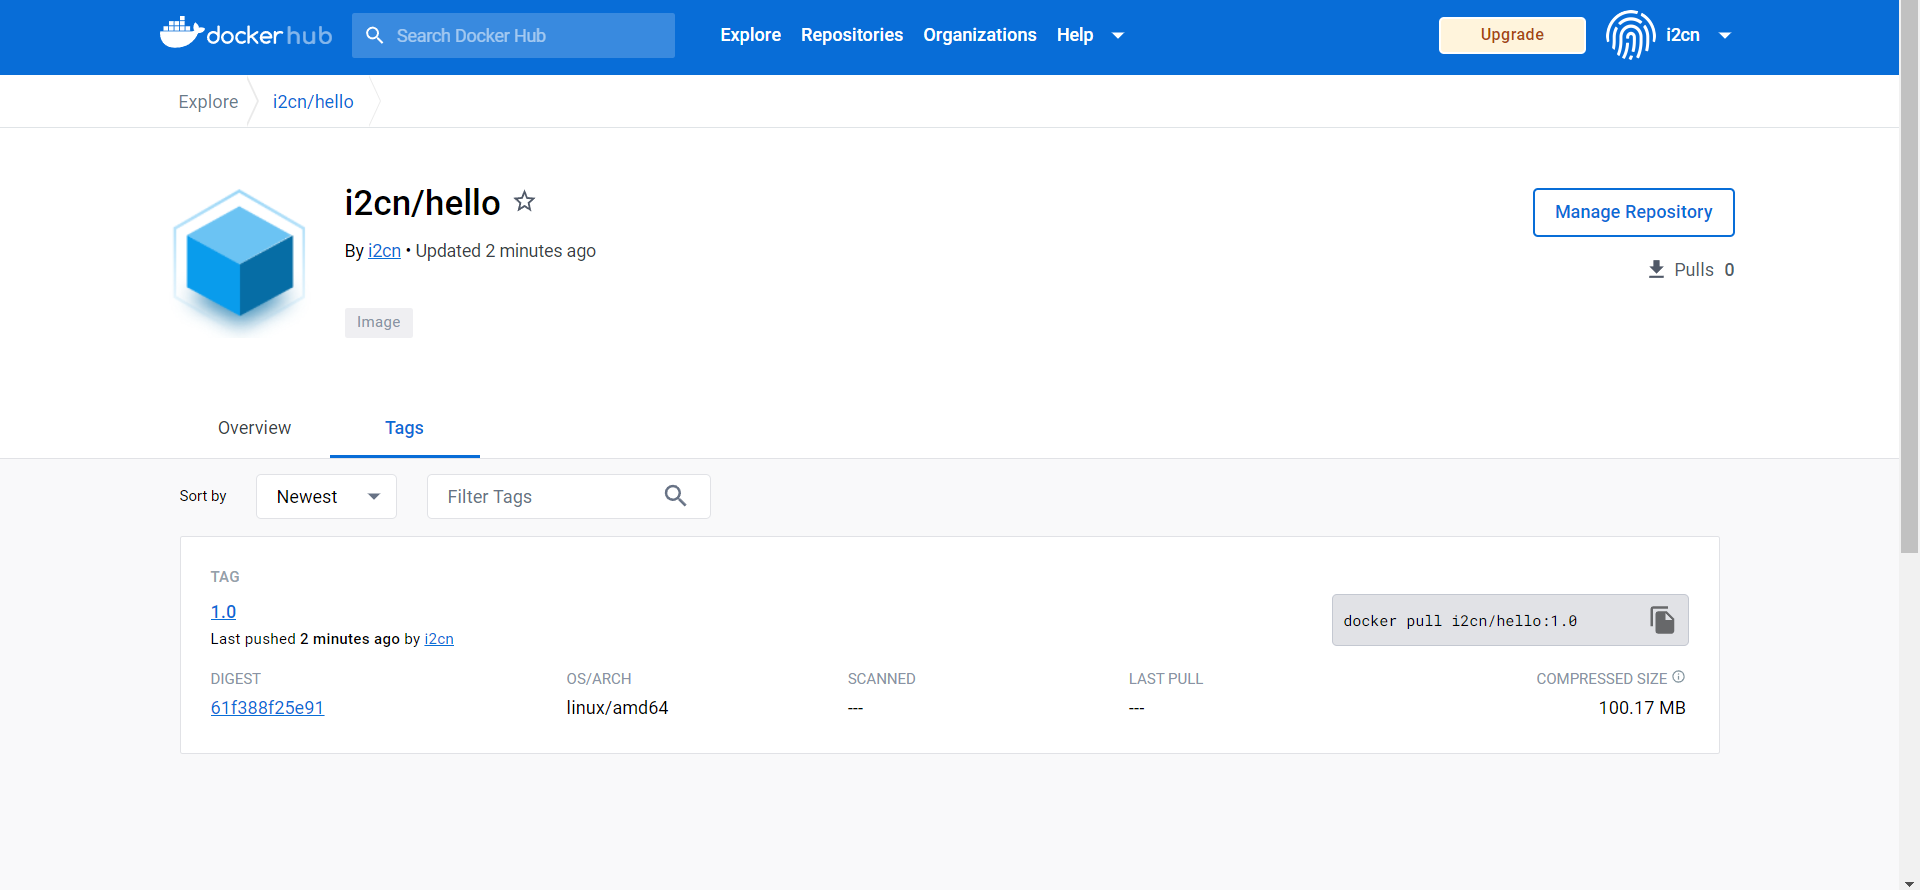
Test拉去push的Image
删除本地Image:
docker image rm i2cn/hello:1.0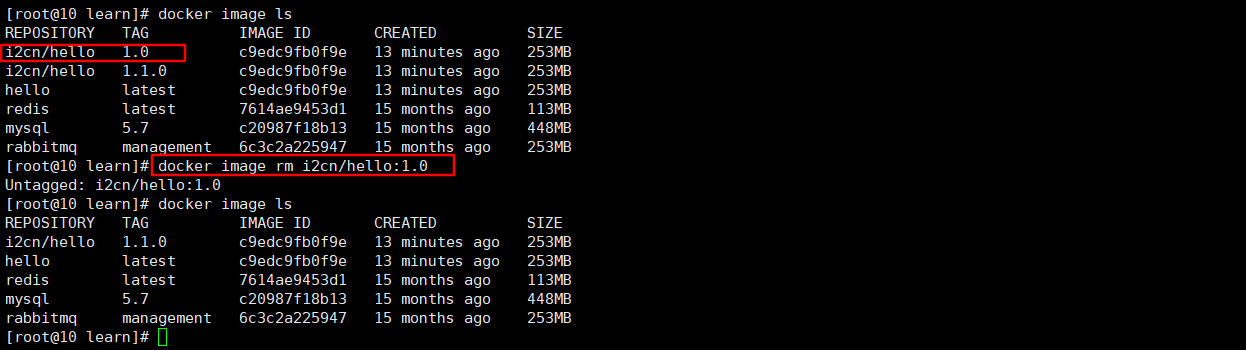
从新PullPush到dockerhub的Image
docker image pull i2cn/hello:1.0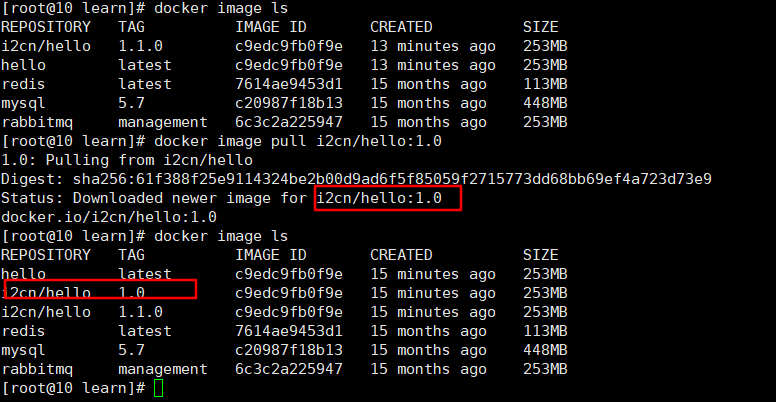
ExecuteImage:
docker container run -it i2cn/hello:1.0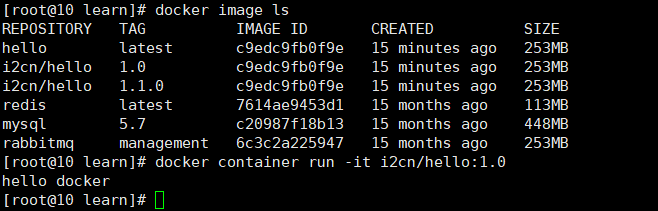
可以看到输出:hello docker
Test成功。
commit创建镜像
将现有Container的改变,commit成一个新的Image。
例如:Start一个nginxContainer,修改nginx的欢迎页面信息,然后重新commit成一个新的Image,如果要Usage改变后的nginxContainer,则可以直接Executecommiit后的Image即可。
ExecutenginxImage,RunnginxContainer,Viewnginx首页。
docker container run -d -p 80:80 nginx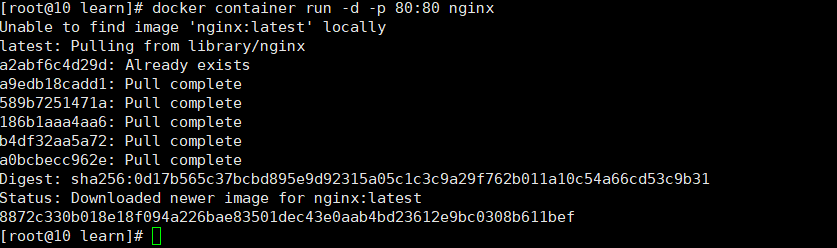
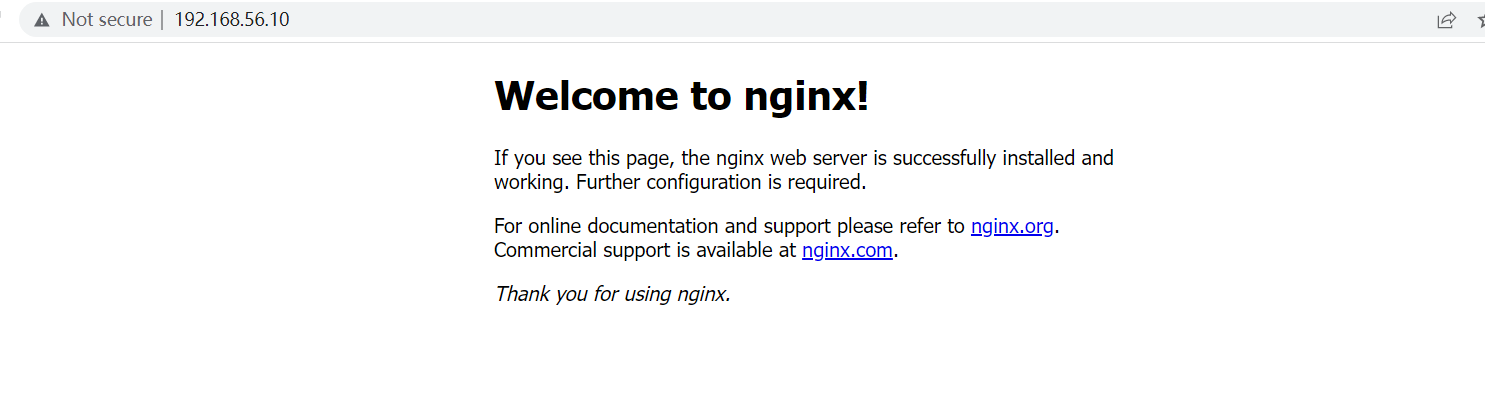
进入nginx修改首页信息
docker exec -it 8872c sh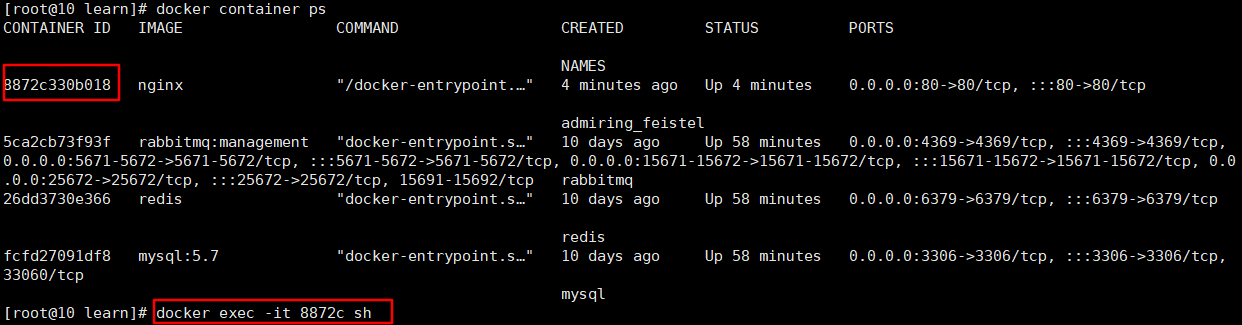
进入nginxContainer首页FilePath
cd /usr/share/nginx/html修改首页信息
echo "<h1>hello word </h1>" > index.html用echoCommand,将“
hello word
”写入index.htmlView首页信息
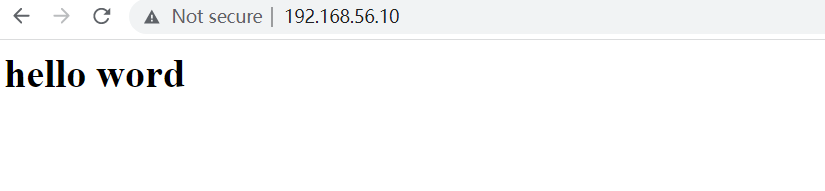
重点:
UsagecommitCommand,将修改后的nginxContainer,commit成一个Image。
停止nginxContainerRun
docker container stop 8872ccommitContainer成一个新Image:
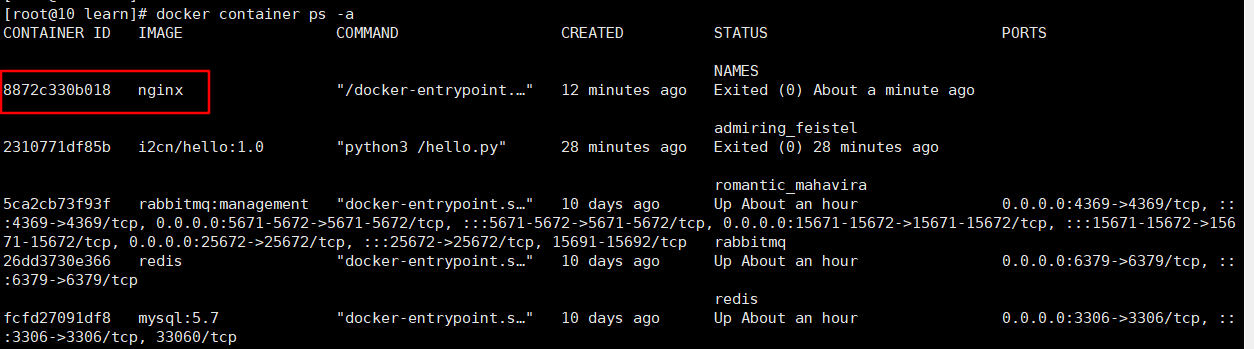
docker container commit 8872 i2cn/nginx:1.0.0
View通过commit新生成的Image:
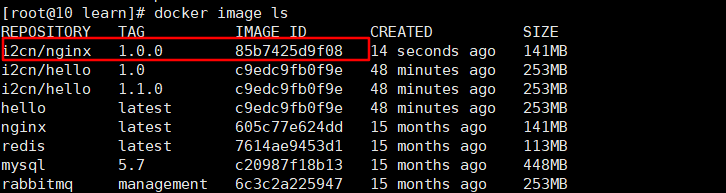
创建容器,commit创建镜像
1、CreateubuntuContainer
docker container run -it ubuntu:21.04 sh2、在ubuntuContainer里面InstallationPython环境
apt-get update && \
DEBIAN_FRONTEND=noninteractive apt-get install --no-install-recommends -y python3.9 python3-pip python3.9-dev
3、Createhello.pyFile,打印hello docker
echo "print('hello docker')" > /hello.py4、推出ubuntuContainer,通过commitPackageubuntuContainer。
docker container commit ubuntu i2cn/pydemo:1.05、通过Package后的pydemo:1.0ImageRunContainer。
docker container run i2cn/pydemo:1.0 python3 /hello.py 这种Method和离线导入导出不怎么Usage。
查看镜像分层
docker image history 镜像名称例如Viewnginx分层信息
docker image history nginx